How to Decorate #DisneySide Easter Eggs

How to Decorate #DisneySide Easter Eggs

It is almost time for the Easter Bunny to visit, and I thought I would share an easy way to show your #DisneySide when you are decorating your Easter Eggs!

#DisneySide Easter Eggs Supplies

  • I used Plastic Eggs, however you can opt to use hard-boiled eggs. You can apply tattoos to dry, hard-boiled white eggs and then dye the eggs afterward (this approach works well with tattoos that are mostly one color, like black.) You can also dye your eggs first, and then add the tattoos when the eggs are thoroughly dry (this is a good approach when using more colorful tattoos).
  • Temporary Tattoos
  • Paper towels, a sponge, or a washcloth to use with the water
  • Small bowl of water
  • Dry paper towels or kitchen towel

httpv://youtu.be/_eeTfdS1VPk?list=UUxhza5Nkv4ukqKmIFLE9dgA

#DisneySide Easter Eggs How To

  1. Gather all of your supplies, and get everything set-up you will want to keep the process going. To make the process of applying the temporary tattoos easier, I cut each one out of the sheet.
  2. Place the temporary tattoo on the egg with the tattoo facing down with the backing paper facing toward you. ** Don’t forget to take the plastic off of the tattoo once you have the placement where you would like it! **
  3. Once the tattoo is placed, dab the tattoo gently with a wet paper towel, sponge, or washcloth. I like to start on one side of the tattoo and work my way to the other side until the entire tattoo design is saturated and sticks to the egg.
  4. Once you are ready, gently lift one side of the tattoo to make sure it has adhered to the egg without any of it sticking to the paper backing.  If you find that parts of your tattoo aren’t attached yet don’t worry, just continue to tap the backing paper with your wet paper towel, sponge, or washcloth.
  5. When the tattoo is completely on the egg and detached from the backing paper, gently go over the tattoo on the egg with a wet paper towel, sponge, or washcloth to make sure there are no small tears or air bubbles.
  6. Gently dry off your tattooed egg with a dry paper towel or washcloth.

We are constantly adding videos to our YouTube channel, so make sure you subscribe here.

Follow us for more updates: Facebooktwitteryoutubetumblrinstagram

#DisneySide Mickey Pretzel Treats

#DisneySide Mickey Pretzel Treats

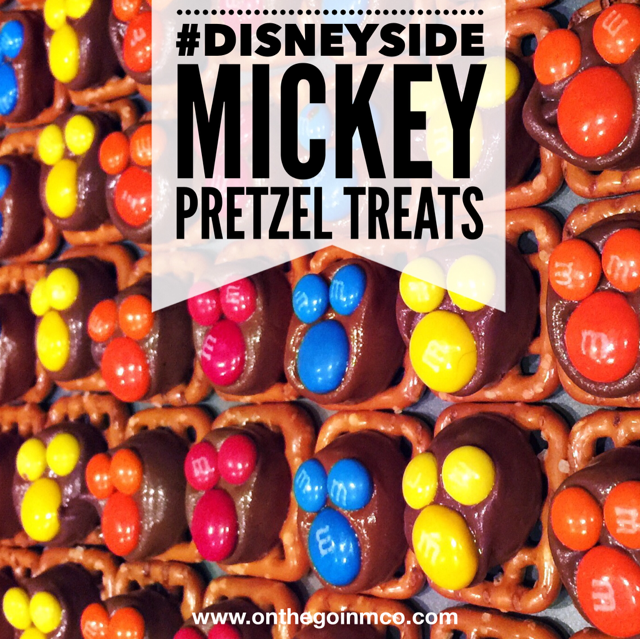
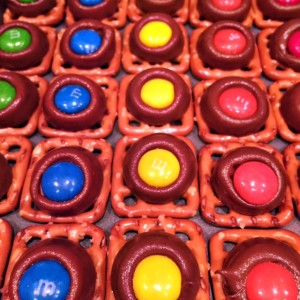
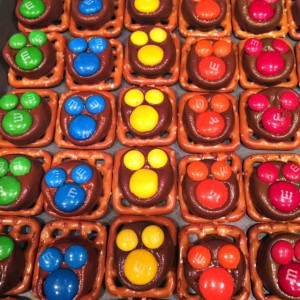
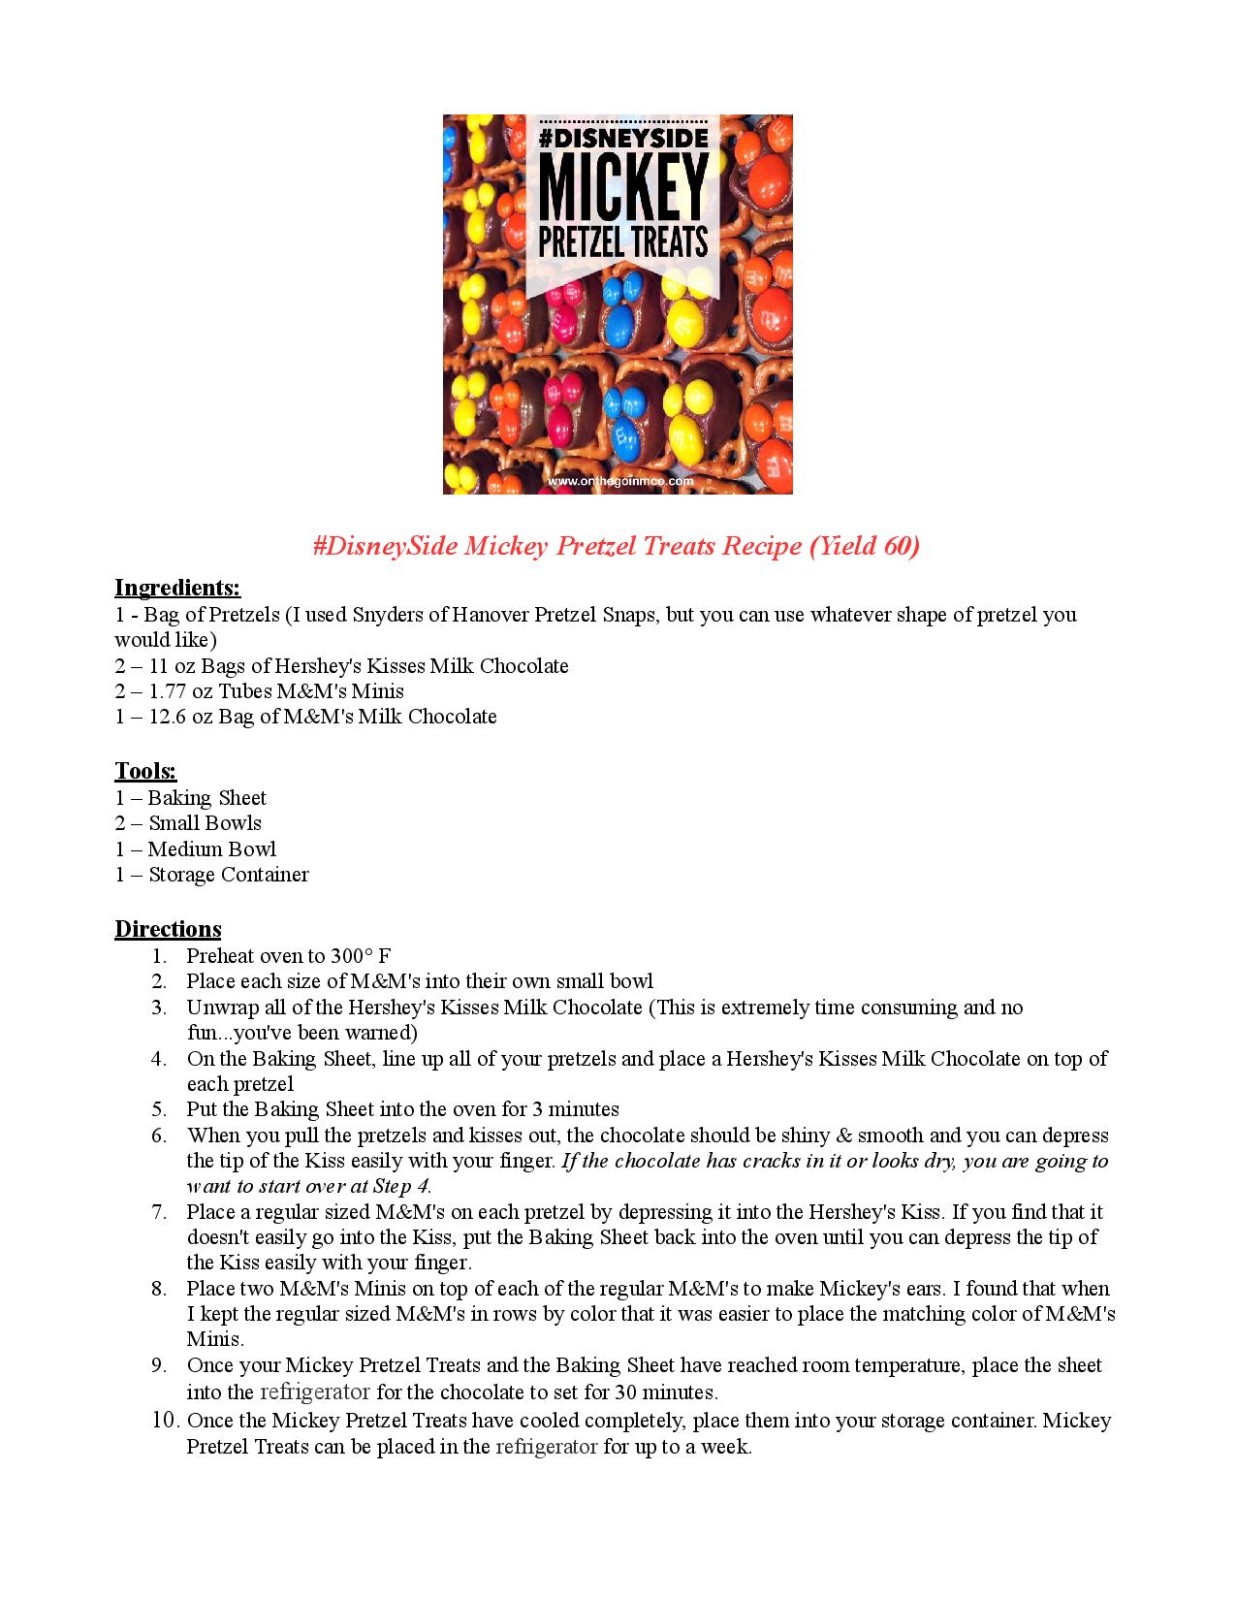
I really enjoy finding recipes for treats that are super easy and super fun, and this #DisneySide Mickey Pretzel Treats recipe is a twist on an old favorite!

These Mickey Pretzel Treats are a great mix of sweet and salty, and are a crowd pleaser

The most expensive part of these treats are the Hershey’s Kisses and M&M’s, however I like to shop the after holiday sales to scoop them up at half off!

#DisneySide Mickey Pretzel Treats Recipe (Yield 60)

Ingredients:

1 – Bag of Pretzels (I used Snyders of Hanover Pretzel Snaps, but you can use whatever shape of pretzel you would like)

2 – 11 oz Bags of Hershey’s Kisses Milk Chocolate

2 – 1.77 oz Tubes M&M’s Minis

1 – 12.6 oz Bag of M&M’s Milk Chocolate

Tools:

1 – Baking Sheet

2 – Small Bowls

1 – Medium Bowl

1 – Storage Container

Directions

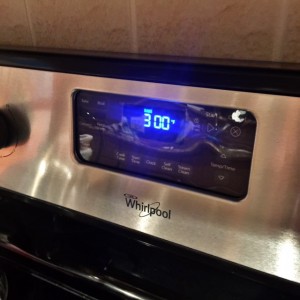
1. Preheat oven to 300° F

#DisneySide Mickey Pretzel Treats


2.Place each size of M&M’s into their own small bowl

#DisneySide Mickey Pretzel Treats

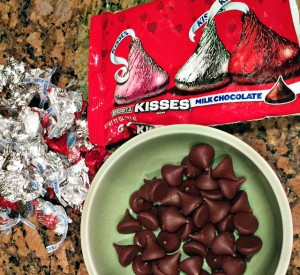
3. Unwrap all of the Hershey’s Kisses Milk Chocolate (This is extremely time consuming and no fun…you’ve been warned)

#DisneySide Mickey Pretzel Treats

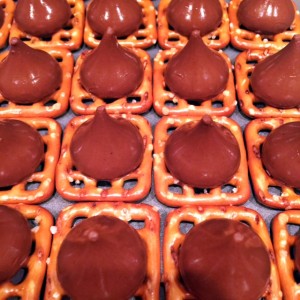
4. On the Baking Sheet, line up all of your pretzels and place a Hershey’s Kisses Milk Chocolate on top of each pretzel

#DisneySide Mickey Pretzel Treats

5. Put the Baking Sheet into the oven for 3 minutes

#DisneySide Mickey Pretzel Treats

6. When you pull the pretzels and kisses out, the chocolate should be shiny & smooth and you can depress the tip of the Kiss easily with your finger. If the chocolate has cracks in it or looks dry, you are going to want to start over at Step 4.

#DisneySide Mickey Pretzel Treats

7. Place a regular sized M&M’s on each pretzel by depressing it into the Hershey’s Kiss. If you find that it doesn’t easily go into the Kiss, put the Baking Sheet back into the oven until you can depress the tip of the Kiss easily with your finger.

#DisneySide Mickey Pretzel Treats

8. Place two M&M’s Minis on top of each of the regular M&M’s to make Mickey’s ears. I found that when I kept the regular sized M&M’s in rows by color that it was easier to place the matching color of M&M’s Minis.

#DisneySide Mickey Pretzel Treats All together

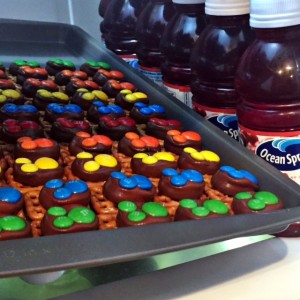
9. Once your Mickey Pretzel Treats and the Baking Sheet have reached room temperature, place the sheet into the refrigerator for the chocolate to set for 30 minutes.

#DisneySide Mickey Pretzel Treats

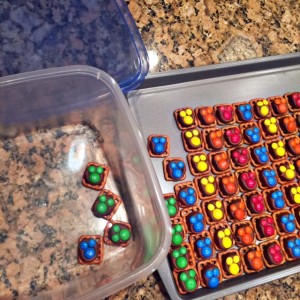
10. Once the Mickey Pretzel Treats have cooled completely, place them into your storage container. Mickey Pretzel Treats can be placed in the refrigerator for up to a week.

#DisneySide Mickey Pretzel Treats

I hope that you enjoy this #DisneySide Mickey Pretzel Treat as much as we do! Below you will find a download of the recipe that you can print out.

#DisneySide Mickey Pretzel Treat Recipe

Follow us for more updates: Facebooktwitteryoutubetumblrinstagram